2000 4Runner Build
This story actually started off as part of my 93 4Runner
Project. As we all know the 3.0 is a, well let's just say it, a gutless wonder.
For what ever reasons, restrictive air inlet, small valves or the terribly
designed exhaust, it just has no power. The general consensus is not to waste
money trying to improve the motor itself. The normal upgrade is to swap a 3400
V6 from a 3rd gen 4Runner or 4th gen truck. 45 more horsepower and 4 miles per
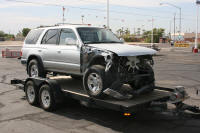
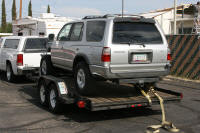
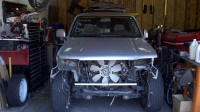
gallon better efficiency. So I thought my search ended when my friend Armondo, a
body man at Precision Toyota Collision Center here in Tucson was fixing a 2000
4Runner his Grandmother had wrecked. Then he decided not to fix it and I swooped
in for the kill. I had it, an organ donor. Brought it home and started to
research everything I needed to do for the swap. Then someone said that there
was a front clip on Craigslist for sale. So I looked and sure enough, a full
front clip from a 96 with pretty much everything I needed to repair the 4Runner.
Better yet it was only $400. So no more organ donor and another build project in
the making.
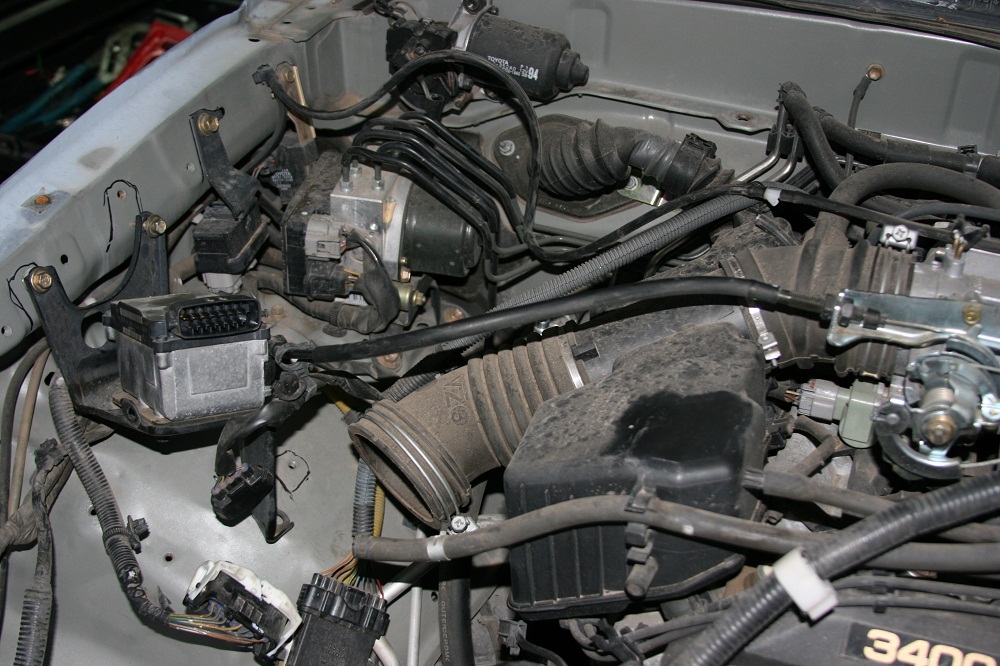
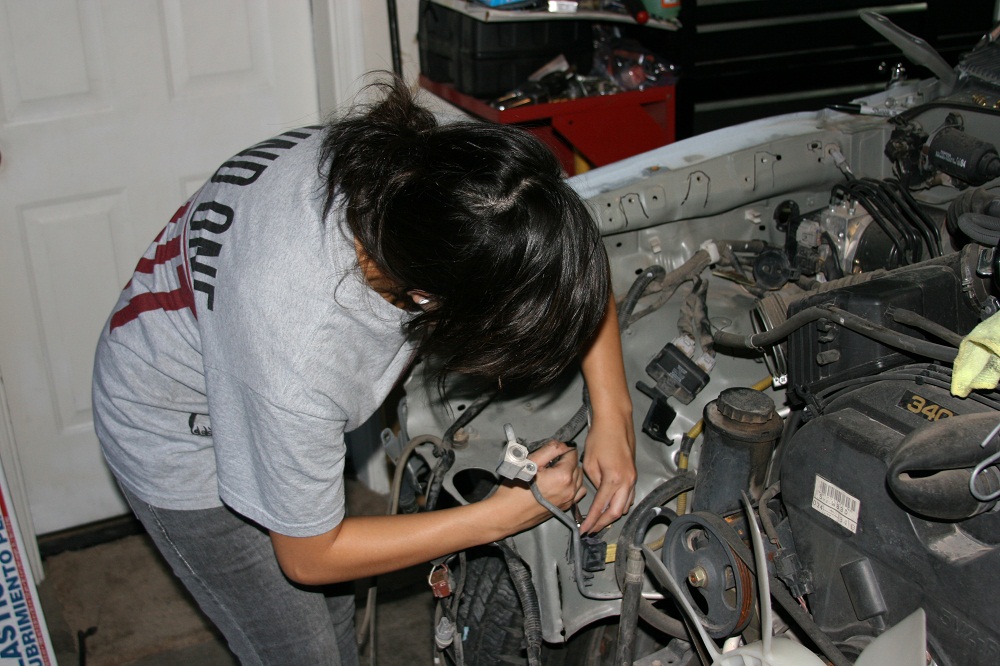
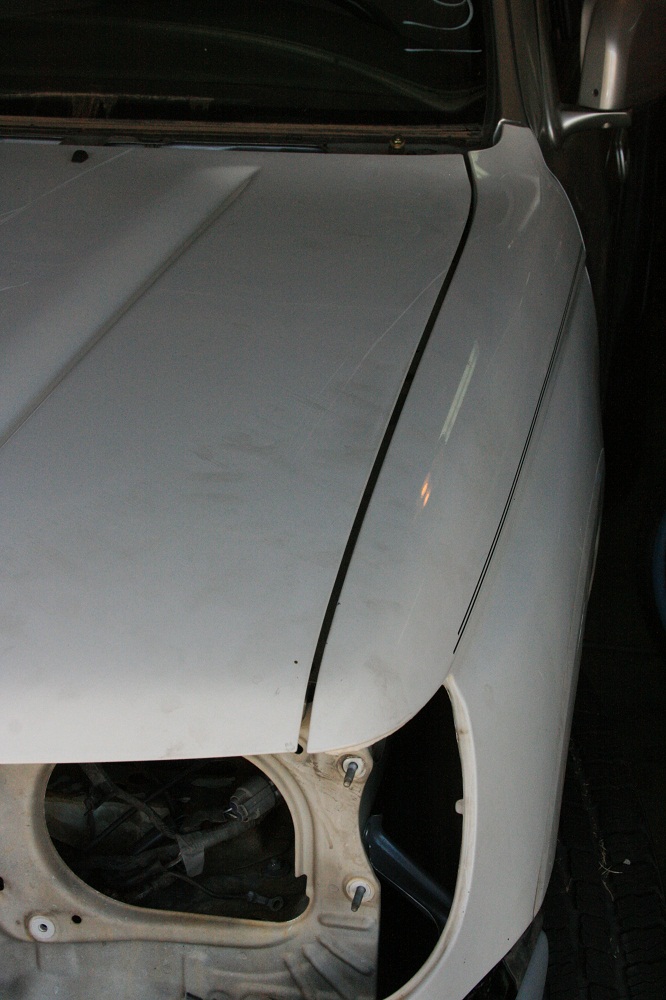
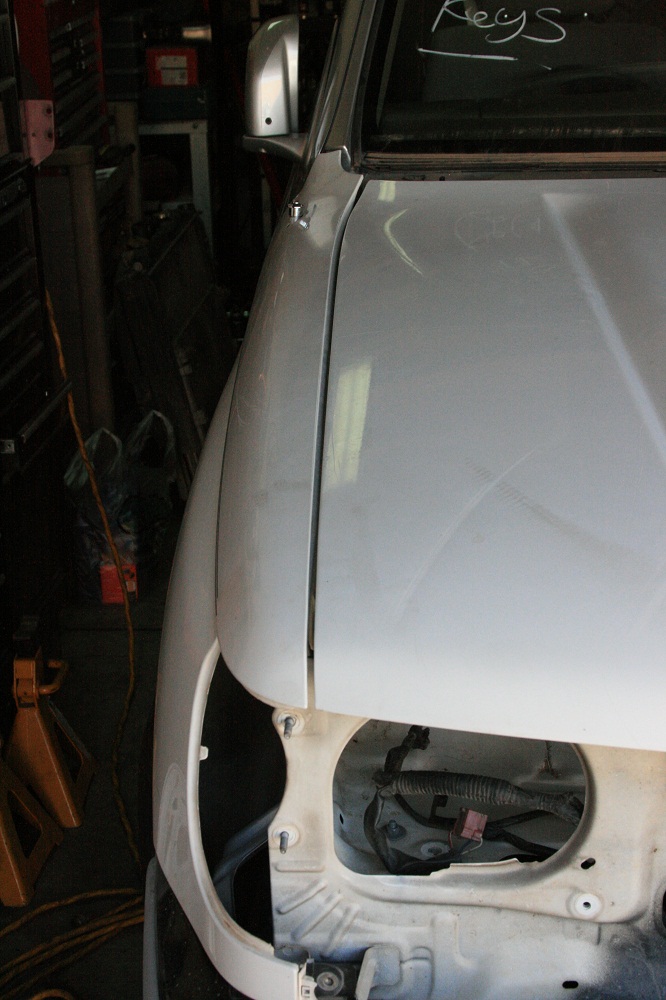
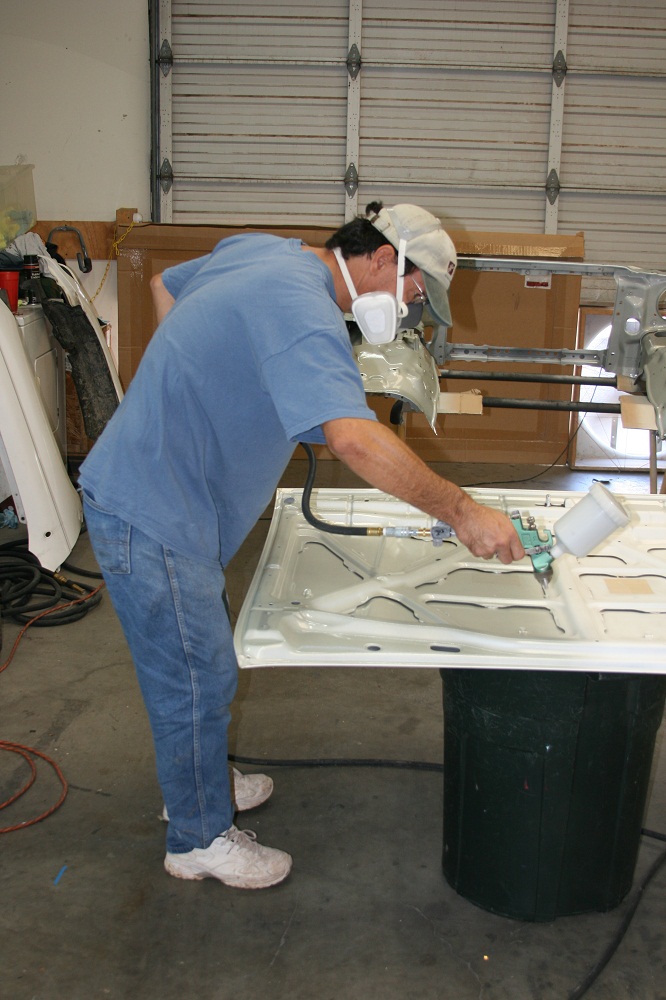
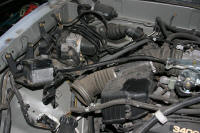
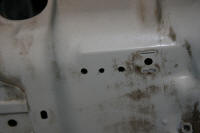
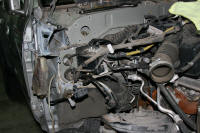
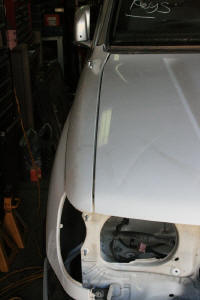
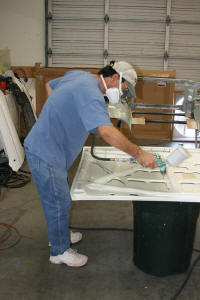
First order of
business. De-trim and remove all the parts and wiring from the apron. Shea (my
daughter) marked all locations where items were mounted so as to compare the 96
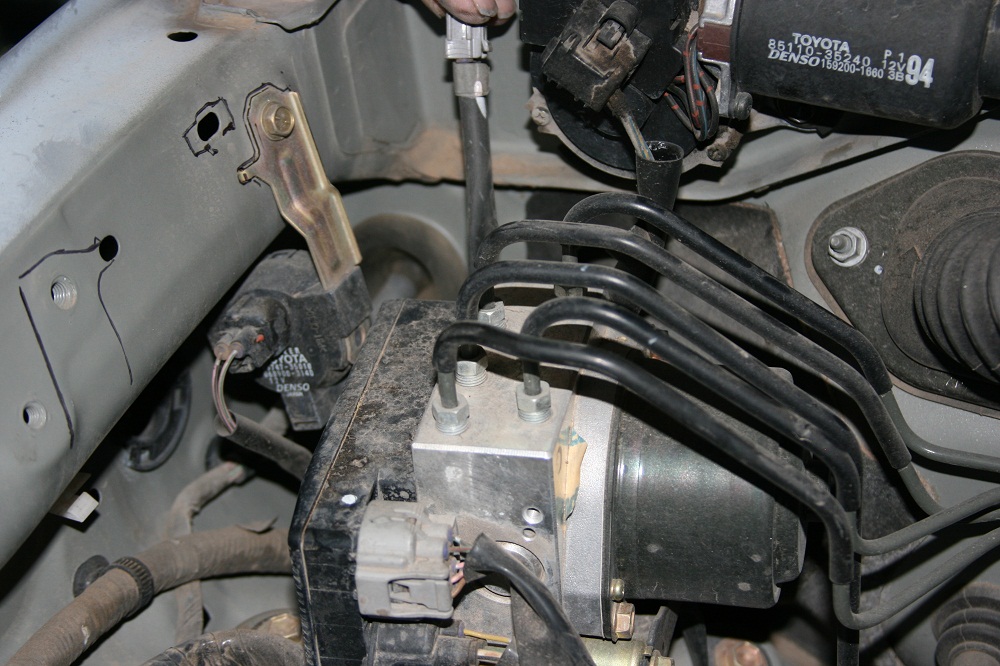
donor with the 2000 aprons. We found the only differences were the 2000 has
airbag sensors on both sides up by the radiator support. the other is an
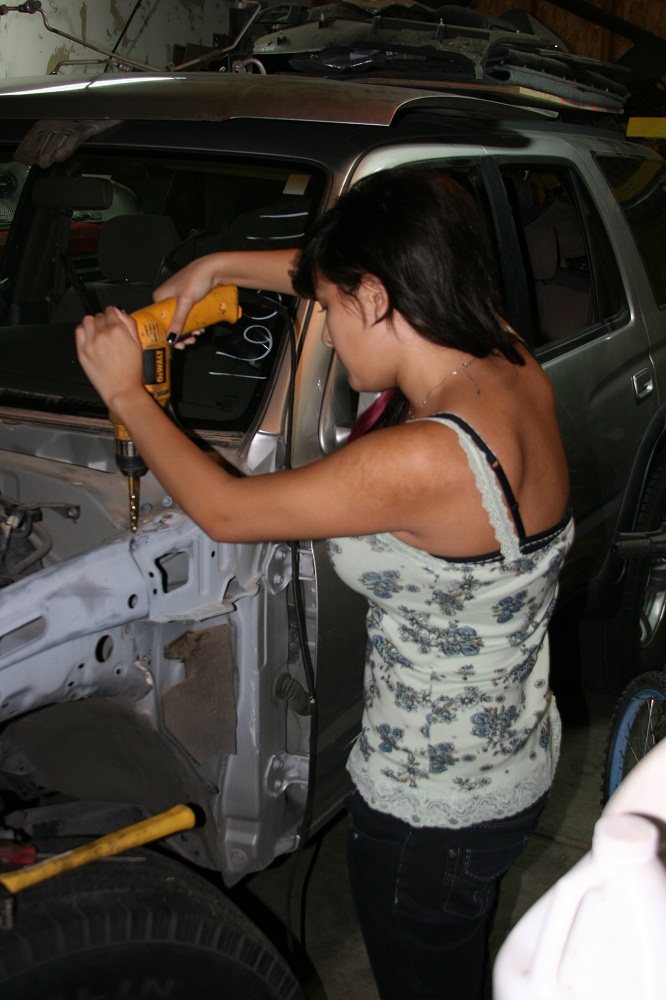
alignment mounting holes for a unit up by the firewall. Made patterns with some
clear premask and drill out the needed holes.

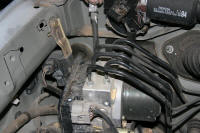
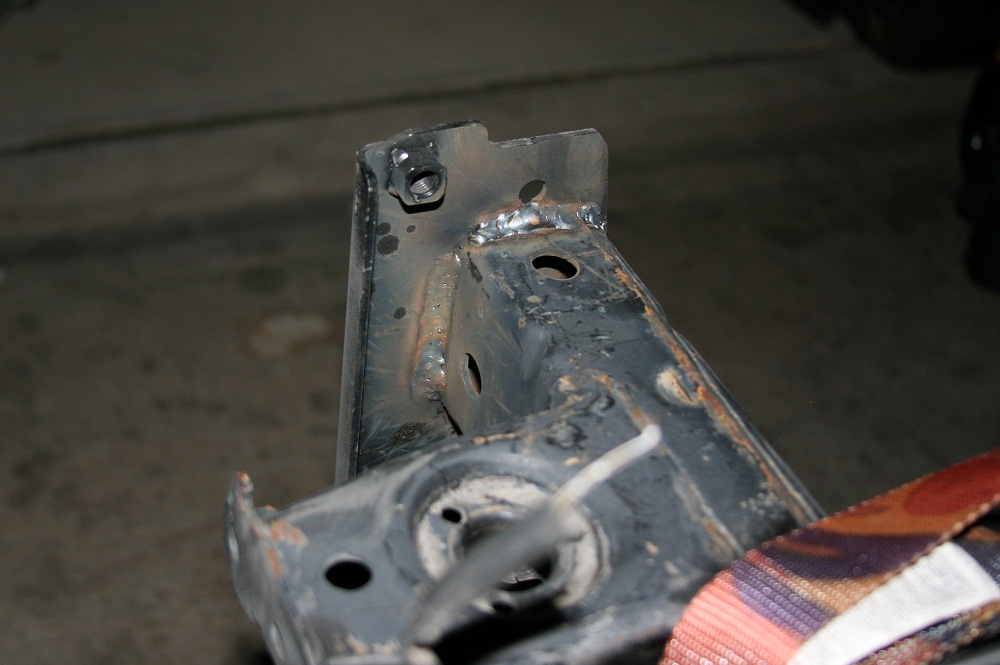
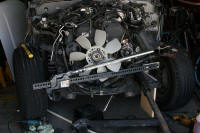
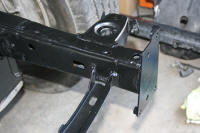
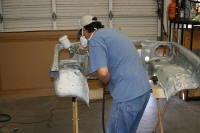
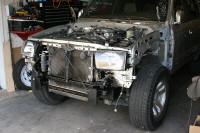
After everything was removed or disconnected,
the spot welds were drilled out and the front clip was removed. The donor clip
was stripped and and all the spot welds drilled out on it as well. The front
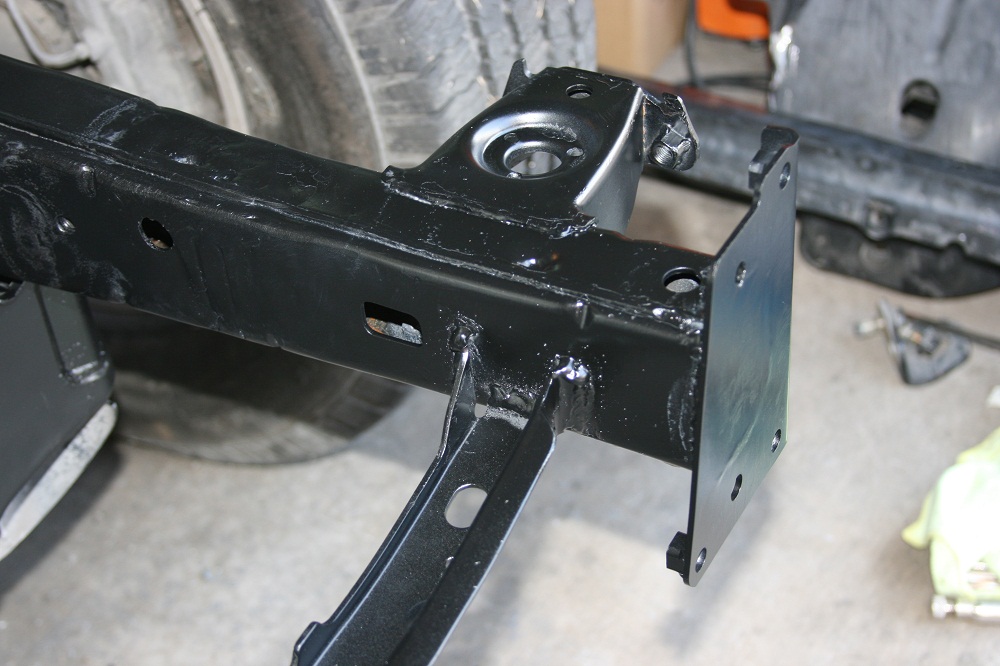
frame rails were straightened and repaint black.


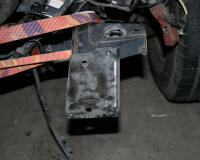

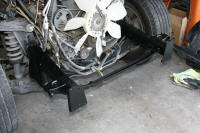
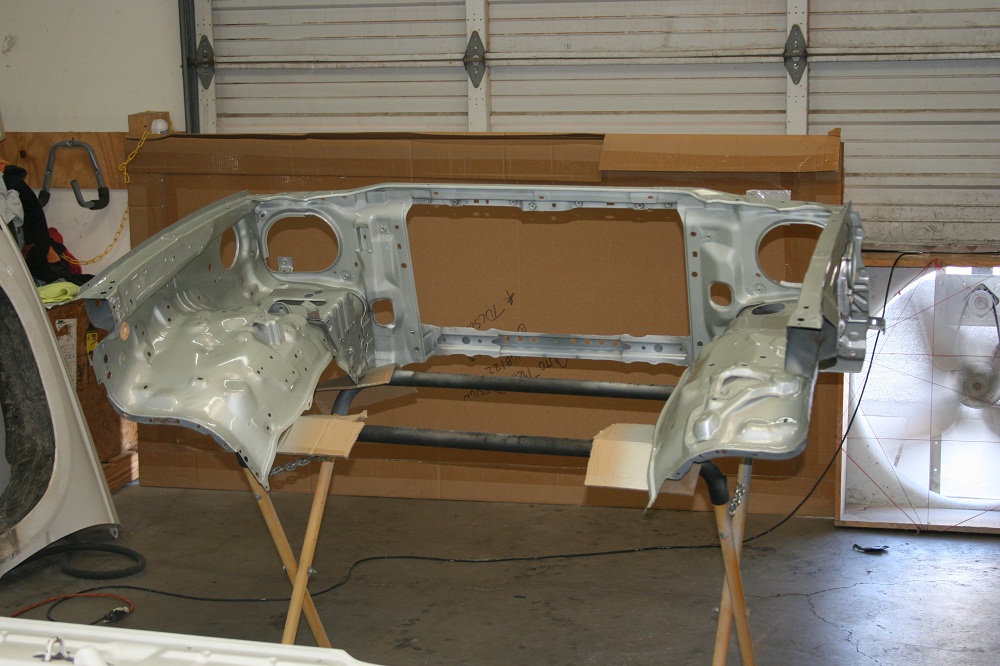
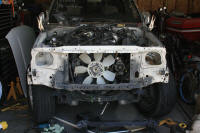
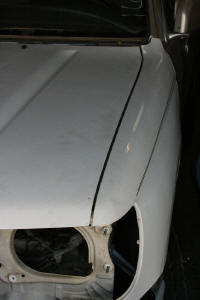
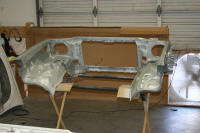
Prior to painting, the clip was mach up in place to verify
square ness and fit. Once trammed and gaps verified the clip was prepped and
painted prior to install. The apron was hung and welded back into place.
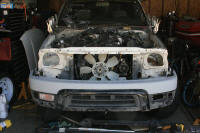

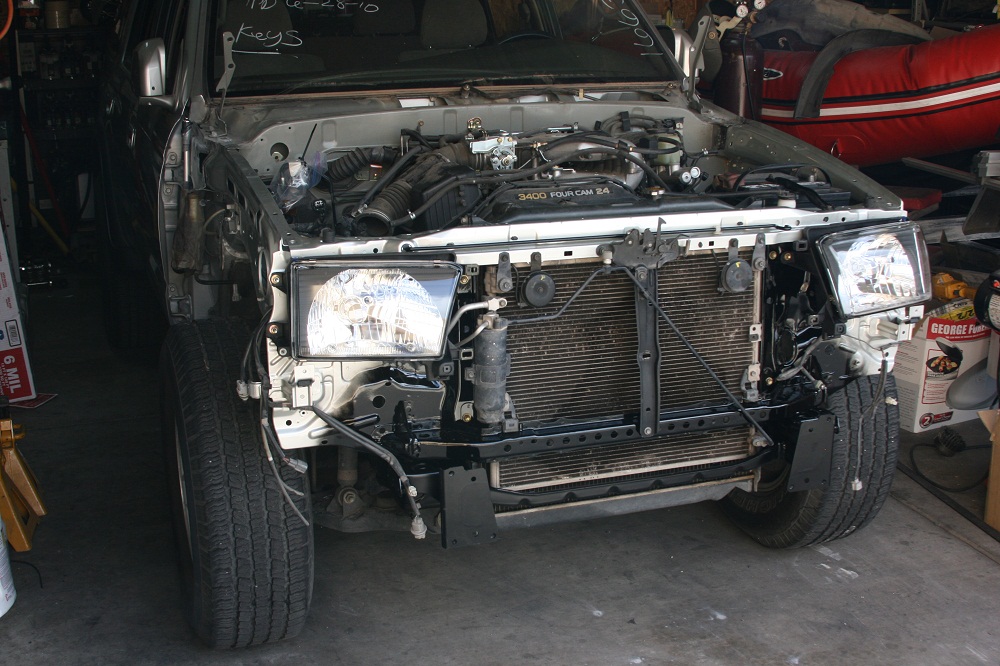
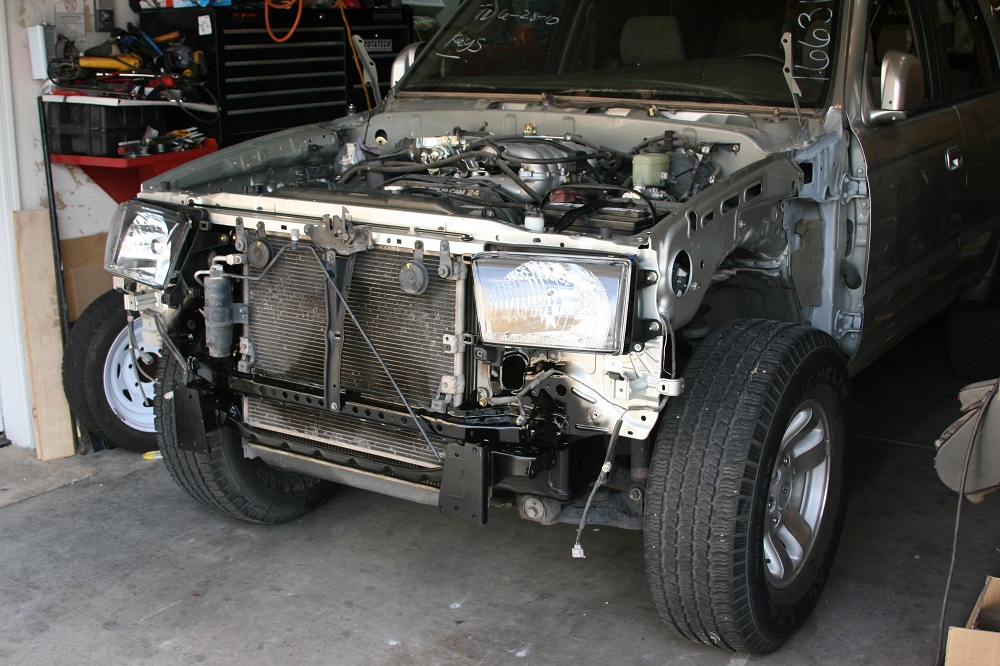
After clip was welded in place, re-assembly started. This was
simplified since pictures were taken of each step disassembly. Only one minor
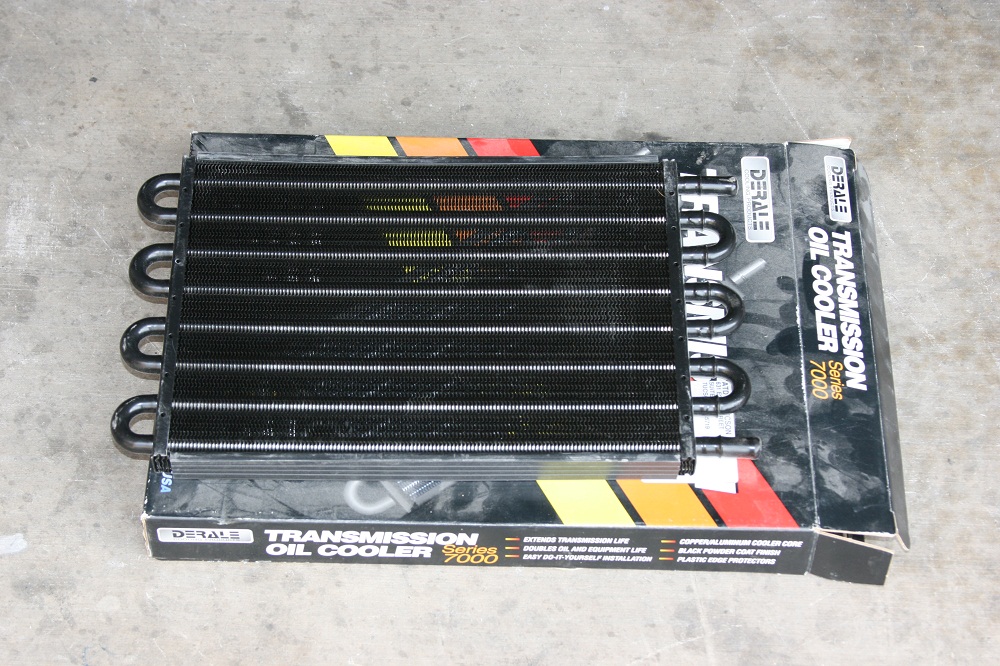
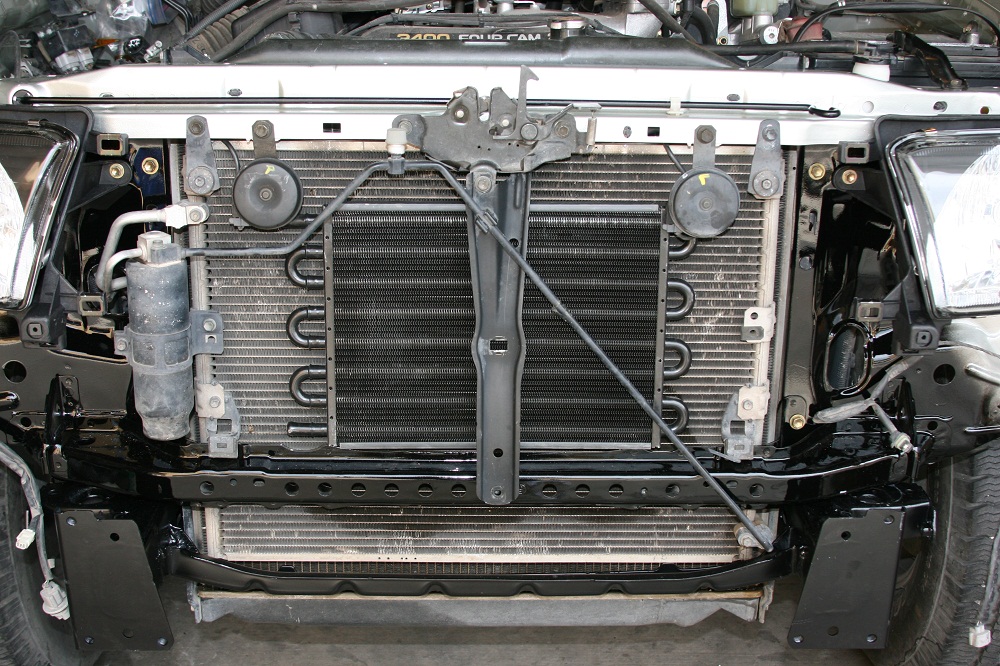
issue arose upon install. I realized the donor clip came from a manual
transmission 4Runner so there was no cooler in the radiator. Not a major issue
since I was planning on adding a cooler for towing reasons anyway.


|